Friday 20 July 2012

There's something fishy about this...

A couple of weeks ago, Captain Slow and I went to the aquarium where I saw a tank of Piranha fish, that glittered and shone as they swam.  They were the most beautiful colours and  the sparkle on their bodies looked like stardust stickles to me.

Last weekend I decided to do a journal page and test my theory that Piranha fish are made of stickles


You can't really see the sparkle in this photo but each fish has quite a bit of texture, the bodies have star dust stickles and the eyes have a coating of glossy accents to raise them and make them more 'eye' like.

This photo better shows the texture and the fish eye.  The fish were drawn and coloured with Inktensil pencils and then collaged to the page using Golden gel medium.


You can almost see the sparkle in this shot, but I must admit it does look more like Rock Candy distress stickles!

Wednesday 11 July 2012

I'm a little rusty today

I have had so much fun over the past week making myself a pencil box!  A few months ago I found a Bronnley soap box that was the perfect size and started to paint and stamp on it and then lost interest.
About a week ago, I decided it had to change drastically - and it did!
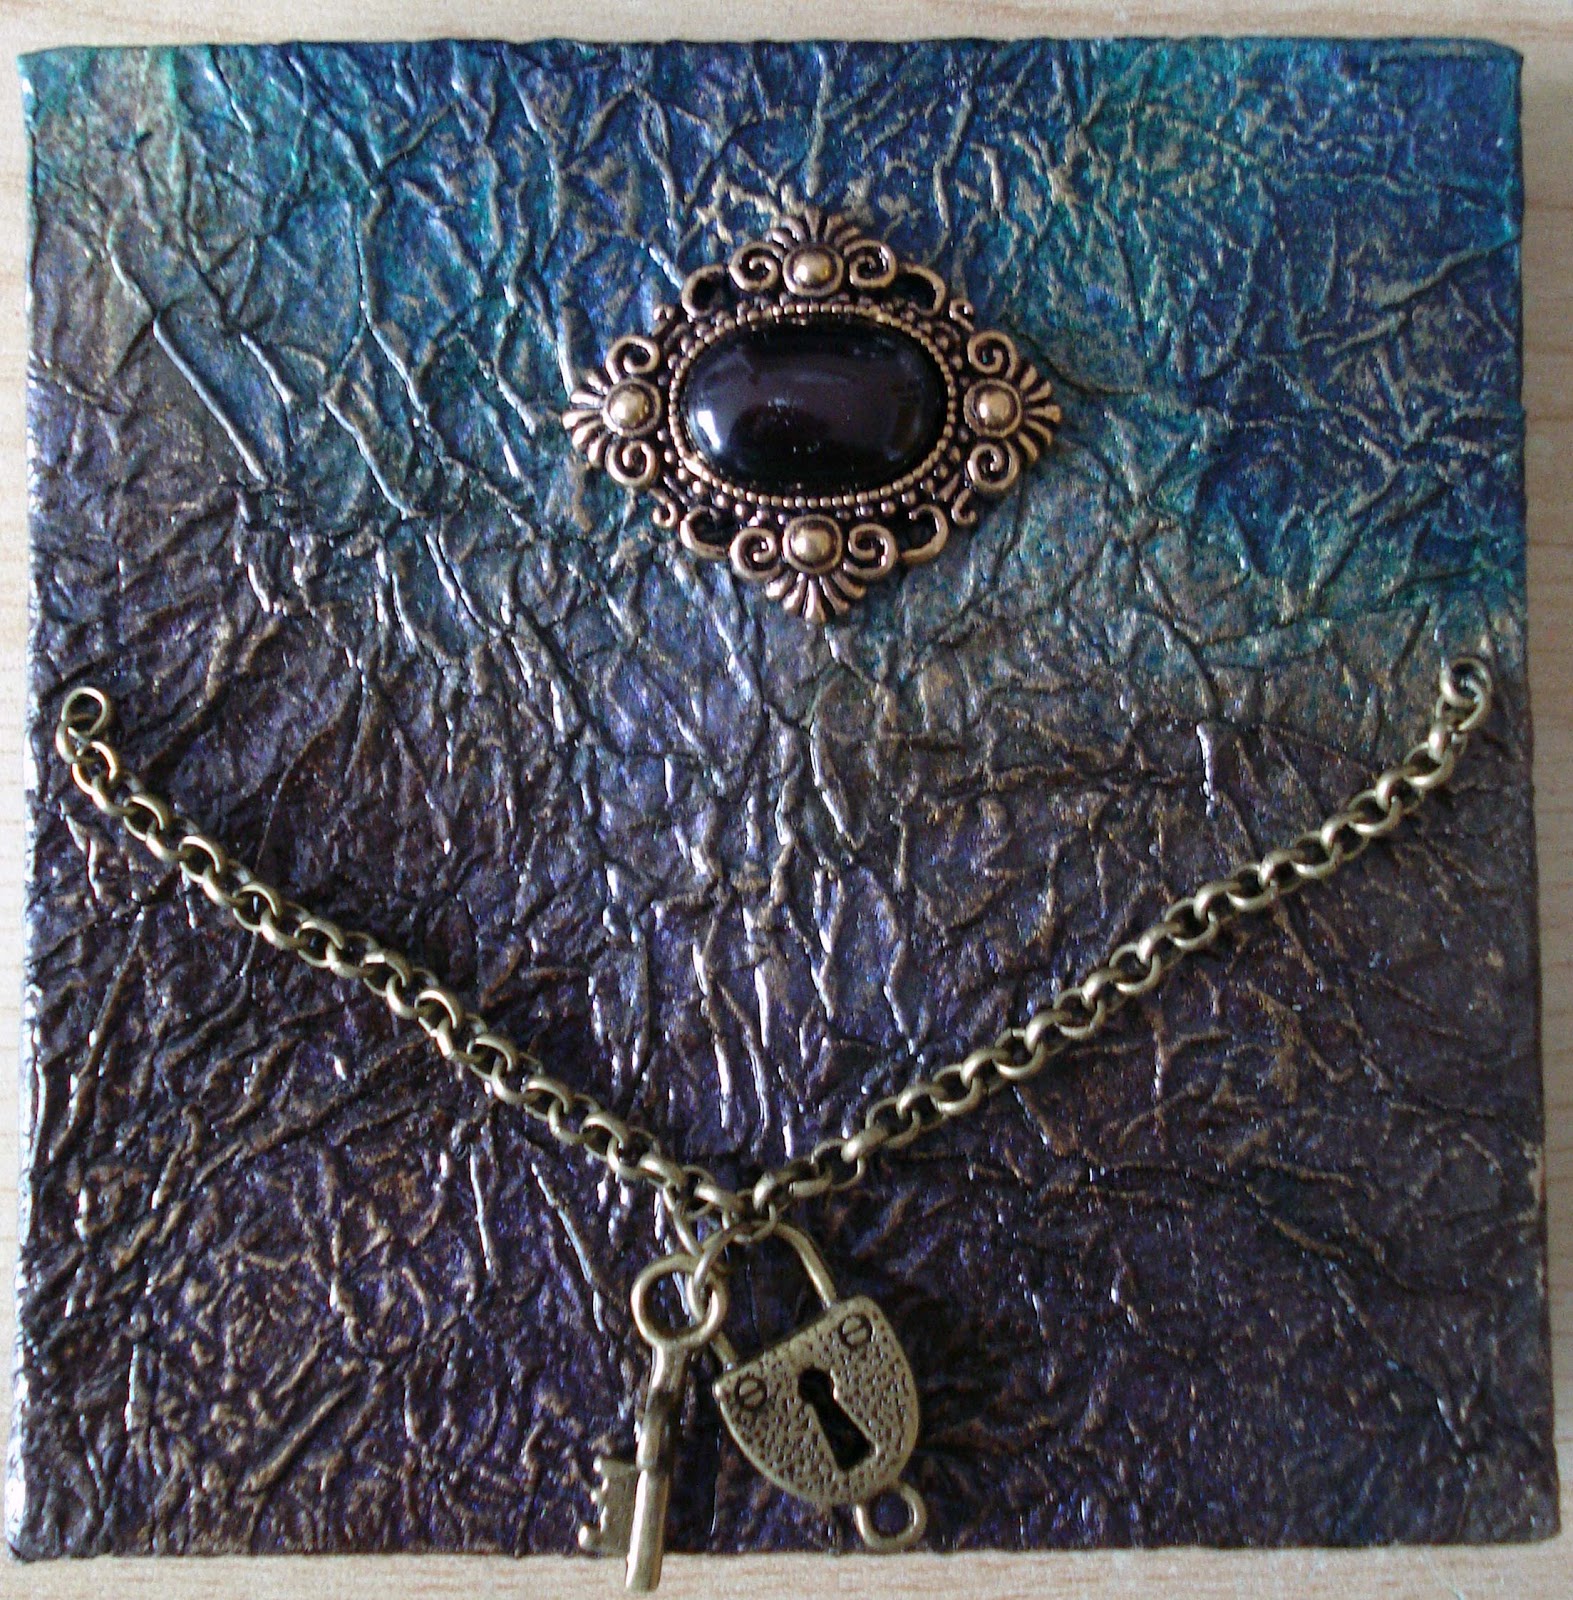
My lovely grungy rusted heavy metal pencil case was born.

I had no idea I was going to enjoy making this so much and didn't take many photo's during the process, but for anyone interested I'll try to document what I did.
For the box, it was a small box originally holding three Bronnley brand soaps.
Metal banding on the top and around the side is cut from Tim Holtz grunge paper
The Euscutcheon is a Tim Holtz grunge board element
The rivets are pearl half domes usually placed in the centre of paper flowers
Painted in a battleship grey colour
The rust is applied by placing glue where you want the rust to appear, sprinkle with Crafty Notions Rust powder and spray with white vinegar.

Above is the empty box after I had painted the outside Grey.  You can see the untreated eustucheon at the top of the photo.

The box is now glued and painted in grey but no rusting is done yet.  Even now it looks heavy and is a shock when you pick it up and find it's just a light box.


More views of the eustucheon as I worked on the rusting process.  Before I applied the rust powder, I covered it completely with Distress Ink in Rust (what else!).  I made sure I covered all of the cut edges to that no grunge board was visible.
This is the eustucheon after the first spray with white vinegar.  I think I sprayed it three times by the time I finished

A close up of the rust, it looks real because it is real.
Once completed I covered everything with a layer or two of clear Golden Mat Medium to seal it.  I applied it with a brush but then stippled it with a cloth to removed brush marks on the rust.  The brush marks are only on the painted surfaces,

It is now full of markers and pens and sitting proudly on my book case.

Sunday 24 June 2012

How clever are you?

This is a simple page I made using the Phrenology head stamp from Stampers Anonymous.  I really love this stamp so much I have it digitised so I can produce it at any size for whatever project I'm working on. 


This page is from my A5 art journal.  I added a coat of gesso and then covered the page with various red, orange and yellow Inktensil pencil by Derwent and then washed over with a wet brush.
Next came a layer of mica spray in gold and some in red with gold mica.
The next layer I used a template and Barn Door red distress ink by Tim Holtz.  Next came the phrenology head which had been stamped on coated white card stock and coloured with flesh tones and pink water soluble wax crayons.  The final layer was used mostly a watery white wash and various techniques, splattering, dashed lines, circles etc.  There are a few other layers too but I lost track of the various things I did. 
Around the edges I used a black Posca paint pen and created some pearls with a Viva Pearl pen in white.

Wednesday 20 June 2012

Post It Notes holder

This is not a new piece but decided to post it today.  A month or so ago I found a tutorial on You Tube explaining how to make a post it note cover.  I followed the sizes but decorated it to my own tastes.
Unfortunately the sizing wasn't completely correct for the post it notes I had so I had to reduce the pile of notes so that the cover would close properly.

I had intended to give it as a gift to someone, but with such a miserly pile of post it notes I thought I'd better keep it.  I will eventually make another one with the correct spine size.  On the bright side, I got myself a post it note holder :)

Tuesday 19 June 2012

Mother Nature

They say there are no mistakes in Art, just opportunities.  When I was working on this piece I made a terrible mistake, I put some gel medium on the base of the stamped  image and then sprinkled it with mica flakes and covered it with gloss gel medium.  After it dried it looked like a seagull had done a sparkly poo!


I clearly couldn't leave it like that so decided to cover the glittery bird dropping with a skirt, at which time I realised I had chosen paper with leaves on it.  She already had a hat with skeleton leaves and then the idea was born, I'd create her as a tree woman.  I thought I had finished but really didn't know what else to do with it when my muse walked in and said "Oh, you've painted Mother Nature".  Perfect, thanks Captain Slow.

This is done in the very cheap art journal I rejected but decided I'd use to mop up spills.  (A4 size)

Sunday 17 June 2012

New stamp from Lynne Perrella collection

I received my goodies from Paper Artsy yesterday, included was a Lynne Perrella plate of red rubber stamps.  I've not been buying this kind of quirky stamp very long so my collection is quite limited and over the last two days I've had trouble leaving them alone.

Yesterday I prepared a couple of background pages in my journal and then started stamping on various types of paper and trying to stamps with different techniques.  Today I chose the very bright background I created yesterday in Vermilion, Red, Lime Green and Lemon and stamped in Stays On Jet Black.  Unfortunately the photo just doesn't do justice to the colours, but you'll get the idea.

I'm also learning how to use Photoshop, which has always seemed a right pain in the bum to me.  Finally I learned how to straighten my image, so shouldn't be any more 'wonky' photo's :)
There are two other pages in progress, one using a masking technique and the other which will hopefully be a ghosting technique (if I can perfect it)

A5 Art Journal

How big should an art journal be?  I had been using an A4 water colour pad, so when I went to buy an art journal I chose A4.  No sooner had I taken it home and opened it on my desk I decided it was too big!  Thank goodness it was just a cheapy from Hobby Craft (less than 2.00 GBP).

I really wanted to buy a Moleskine but don't trust myself yet to keep going with the journaling so thought  I would just buy a nice A5 sketchbook suitable for watercolour.  The minute I got it home I was happy that the pages were smaller and it felt that it would be easier to complete a page of this new small size.  Instead of sticking to what I'd been doing, I started paper piecing! 

My photography needs to improve too.  This morning I couldn't get my Sony Cybershot to focus on anything at all and realised I'd either need to use my phone or buy a new camera.  Captain Slow to the rescue, he checked out on the Internet and found its a common problem and the fix is to bang the camera quite hard on the desk a few times!!  Well, if it wouldn't focus what did I have to lose?  I gave it 5 very hard whacks on the table and Voila!  It works - almost.

All bent and twisted.....

When I decided to start being more active with painting, I didn't have an art journal.  I had a wardrobe full of scrapbook paper, or as my partner calls it: crapbook.  I had taken up scrapbooking approx 12 years ago and then just as quickly realised I didn't enjoy doing it.  My creativity went into making minature books and ephemera and then changed to playing with polymer clay and beads.
I bought some good quality paint (Golden fluid) in 2 shades of red, a blue and a yellow.  And a student grade white and black plus some matt medium.  This helps to make the paint more translucent without making it too wet (watery).  Rather than buy even more paper, I decided to use the water colour pads I already owned (used for card making),

I taped them down to my work surface, as you do.  But unfortunately every one of them has warped and become bent in the same way.  I'm not sure how I'm going to fix them or even if I'll bother.

Below are my bent and twisted lose art journal sheets.  Inspiration came from Kate Crane a brilliant mixed media artist who has some very useful art journaling DVDs.  The other big inspiration came from RachO113 whom I found on YouTube.  This lady has so much talent and I could watch her for hours,  To get started I had to borrow their concepts and ideas and I hope they see it as flattery that they made me break out the paints.  I'm now producing my own unique work but I still feel influenced by what they produce.  Thank you both.


Saturday 16 June 2012

Bits of Life

I had read the buzz about Smash Books and Junk Journals and really wanted to make something where I could put all the little bits of life that had no financial value but for some reason I wanted to hold on to.  I have a desk and drawer full of bits of practice art that I just think is nice.  Things I doodle while I'm on the phone, or things I find that amuse me.

So was born my 'Bits of Life' book.  The cover is made of matt board and covered in patterned paper inside and out.  I used my zutter binder to hold it all together and then attached a Tim Holtz faceplate to the front.

There is lots of room inside for me to write, draw or stick things.  I started out with the things that were just lying around on my desk.  A thank you tag I'd made and never used.  A paper heart I had left over from doing the Jennifer McGuire techniques class, I made into a face.  Just random bits of my life I want to keep.

Pages for Captain Slow

I tried quite hard not to make the book for Captain Slow look girly or in any way pink, but there had to be some type of arty farty bits in it.  Below are some of the pages:
- A steampunk type page that Cpt Slow decided was Douglas Adams!
- A page of scrapbook paper made to look like a shirt and tie
- Bizarre multi-media piece I made while my daughter was on Skype with me telling me to do different things